Installation
How to enable ADB
Prepare the cable, enable USB debugging on the head unit, then return to finish the browser installation.
1. Prepare what you need
Have everything ready before you get in the car, so you do not have to interrupt the process halfway through.
- An Android phone, a Windows 10 or 11 laptop, or a MacBook.
- Google Chrome.
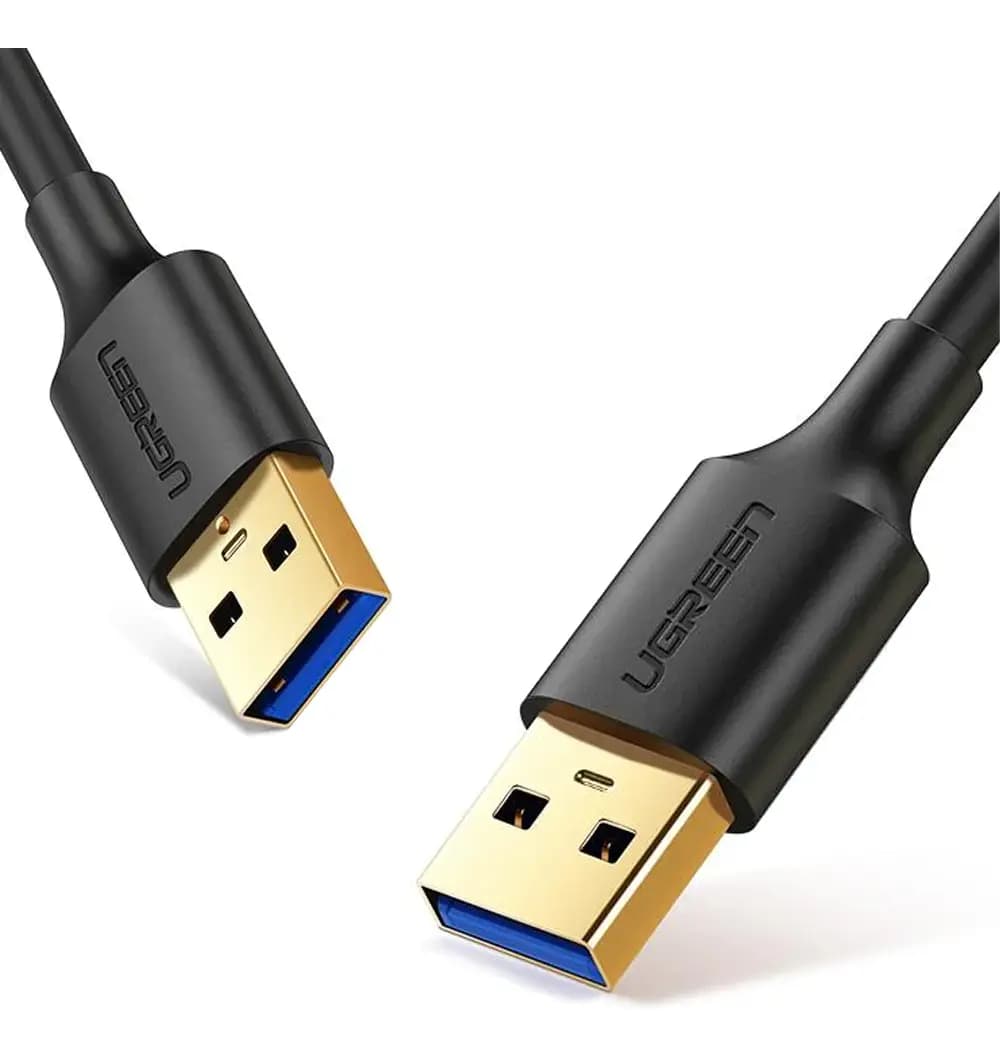
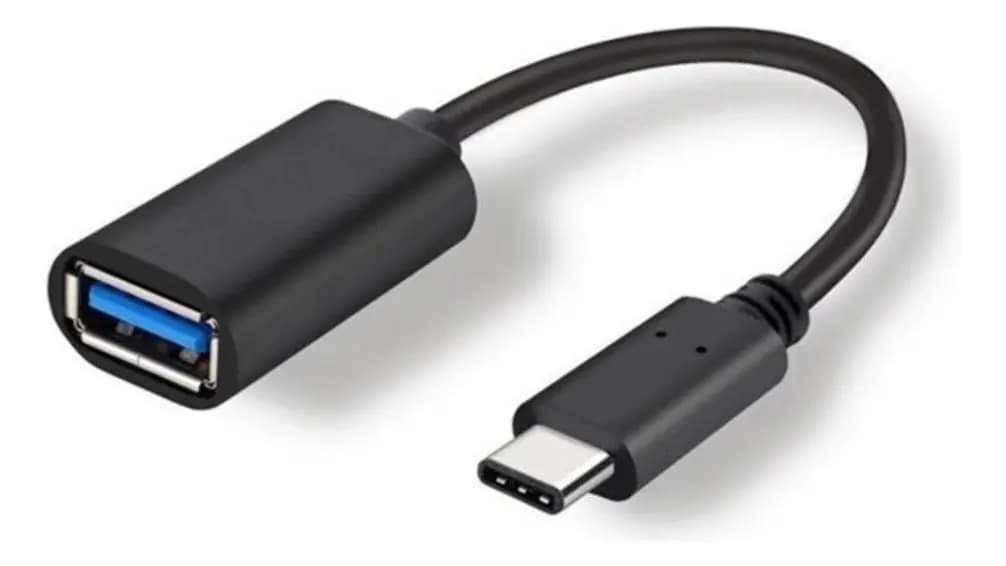
- A USB-A ↔ USB-A data cable. If your phone or laptop only has USB-C, also use a USB-C → USB-A OTG adapter.
- Use the car's USB-A port used for Android Auto or Apple CarPlay. The car's USB-C port is for charging only.
2. Open the engineering menu
With the car on, complete these steps on the head unit screen.
- Open the vehicle head unit.
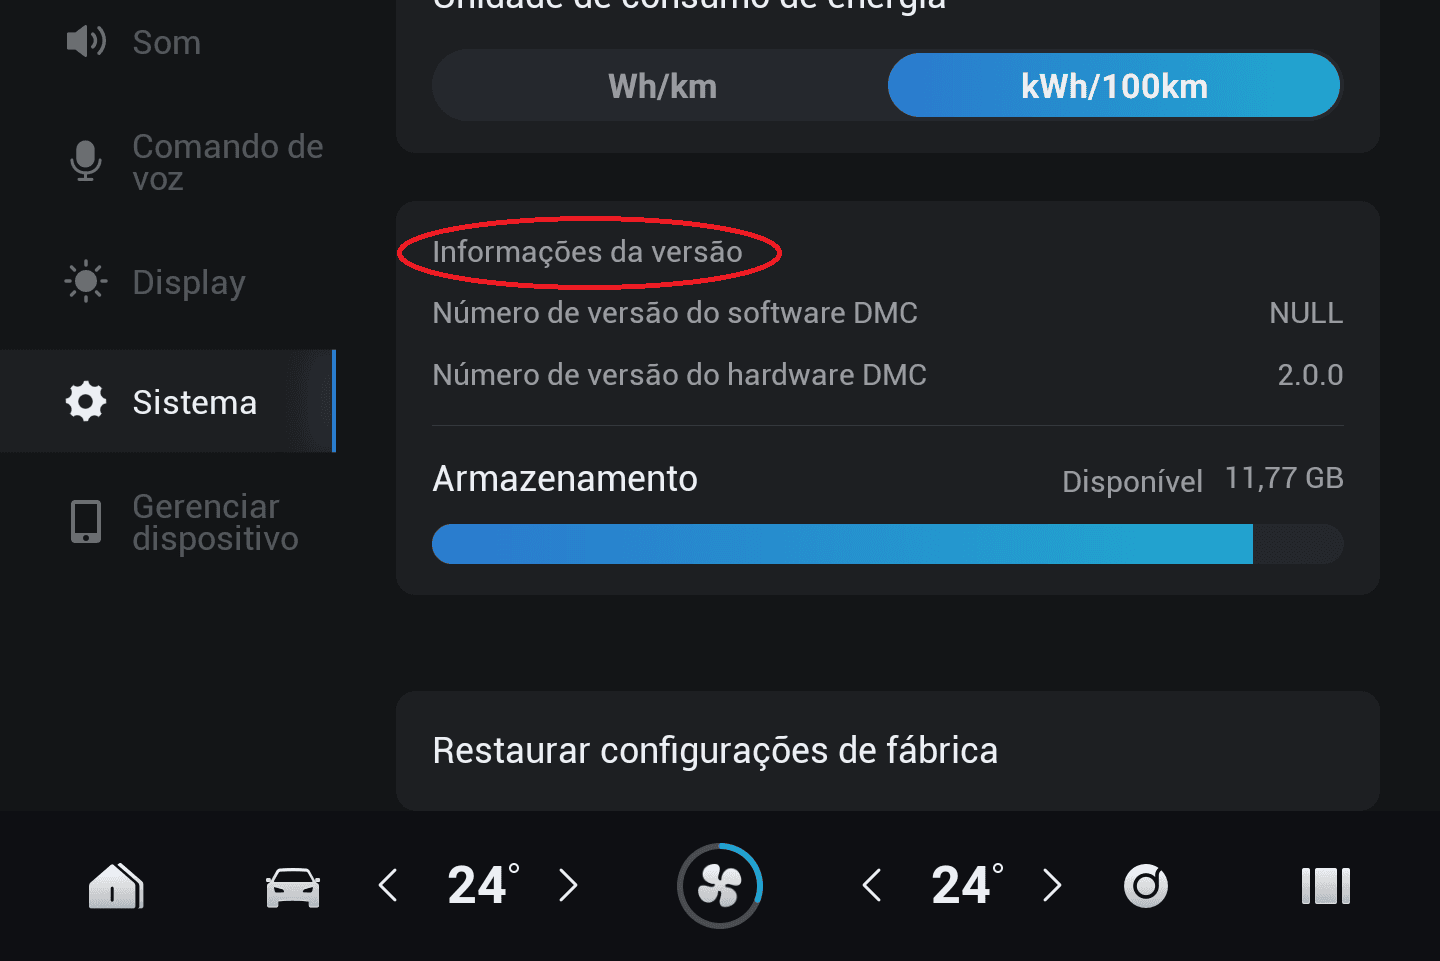
- Tap “System”.
- On Jaecoo, under “Version information”, tap the title 10 times, or until the engineering menu appears.
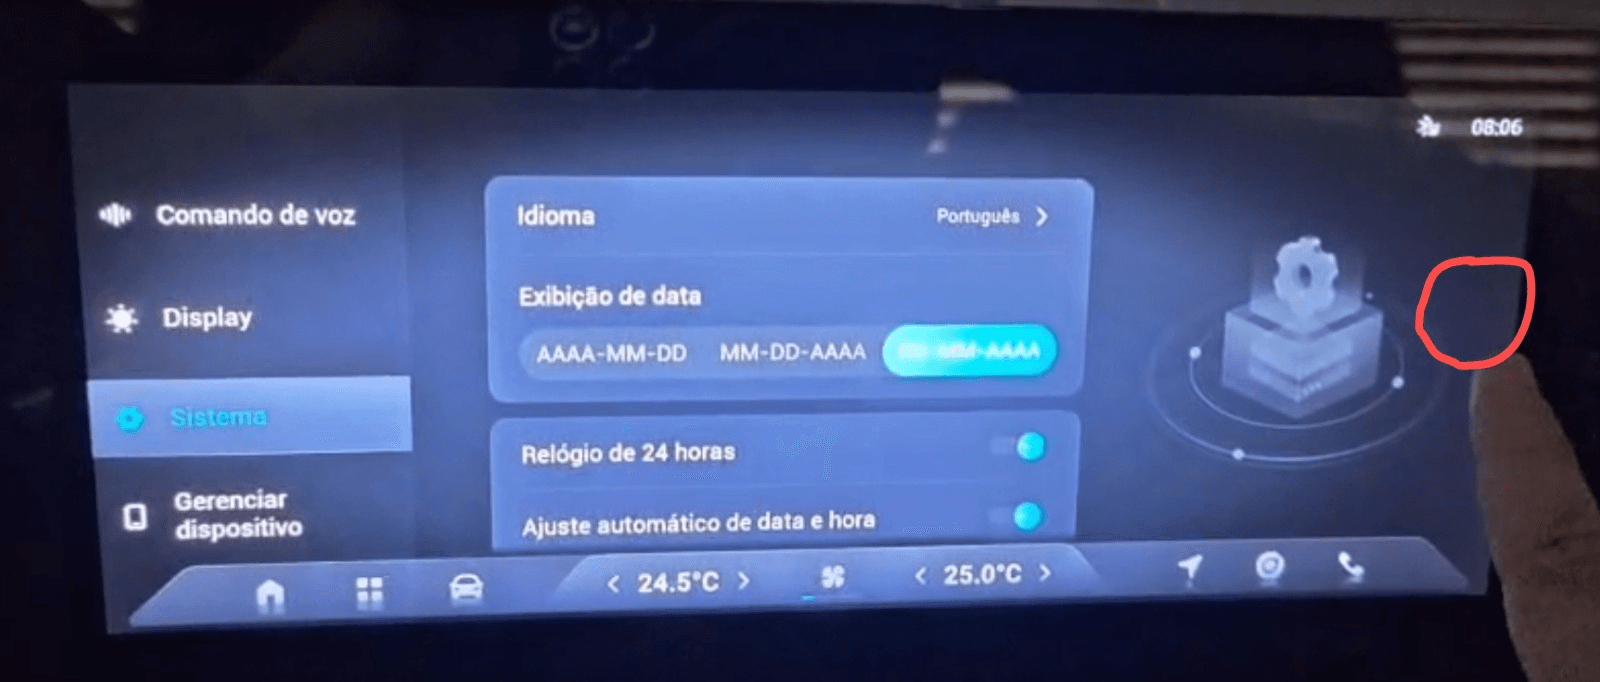
- On Omoda and Tiggo, tap the area on the right of the System screen, marked in red in the image below, 10 times, or until the engineering menu appears.
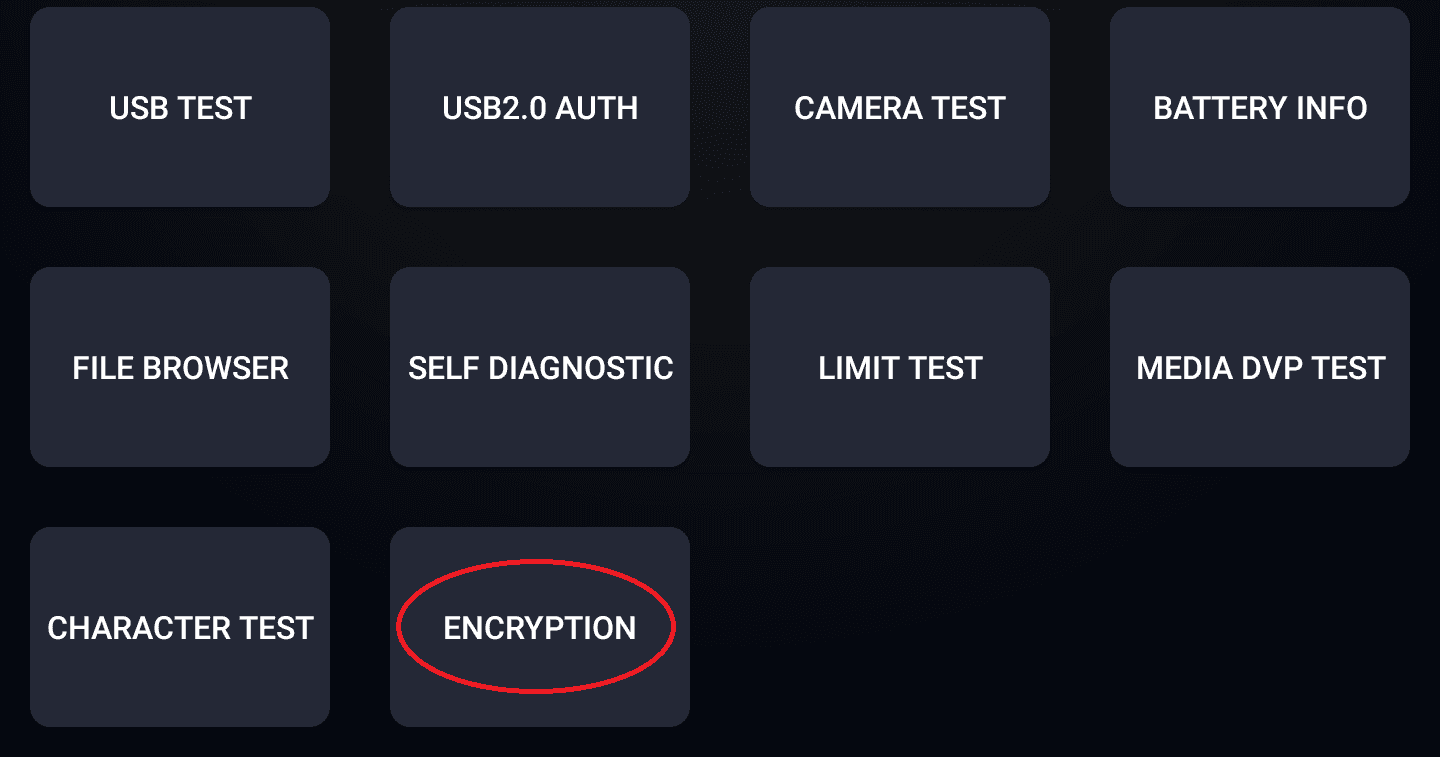
- In the engineering menu, tap “Encryption”.
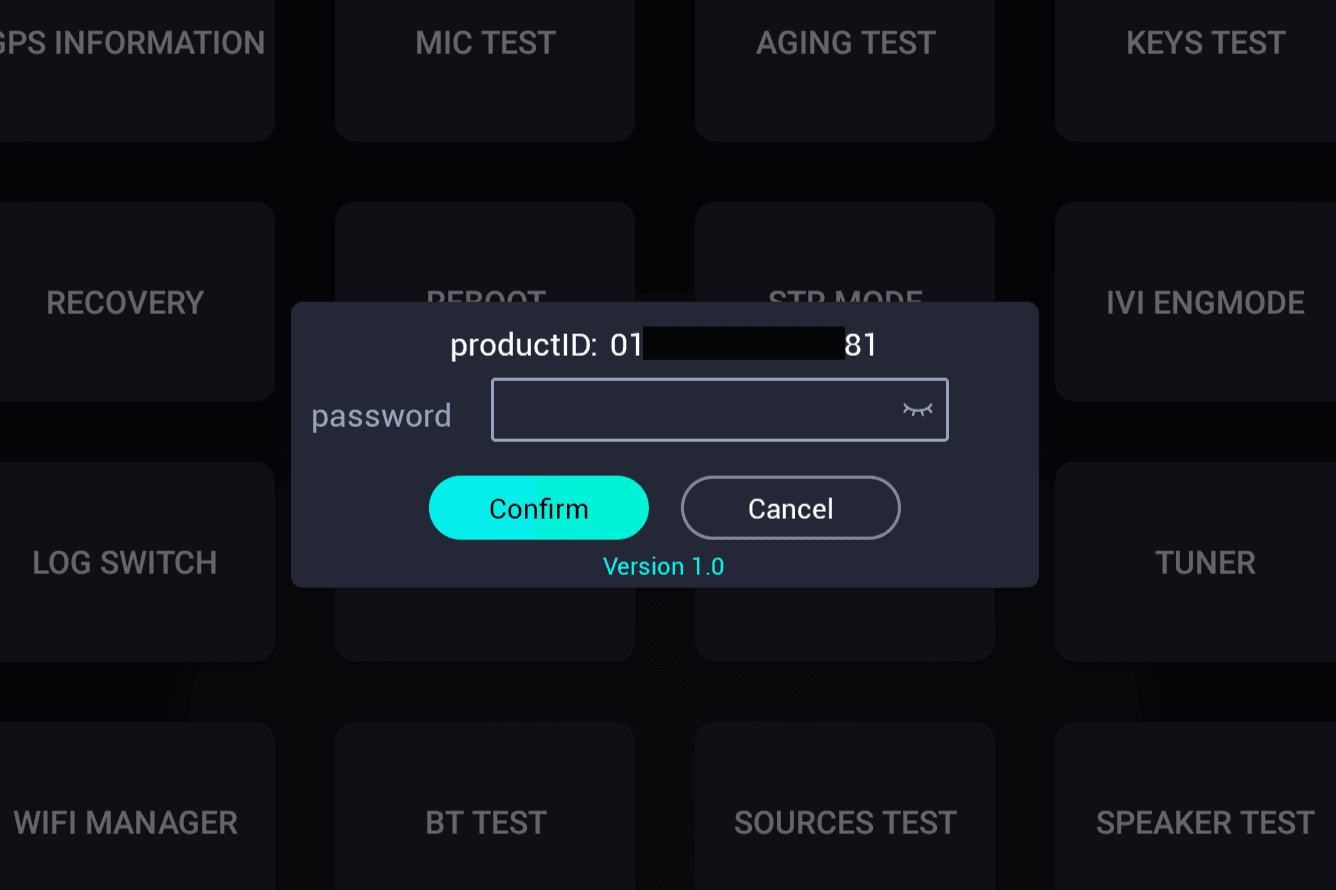
- A password window will appear. Check whether it shows Version 1.0, Version 2.0 or Version 3.0 before using the calculator below.
Find the password
Use the calculator that matches the version shown on the head unit screen.
The values are calculated only in this browser and are not sent to JConfig.
Version 1.0
Enter only the calculated password in the head unit. Do not enter the productID, VIN or ranNum there.
3. Enable ADB
After you enter the correct password, the engineering menu will open.
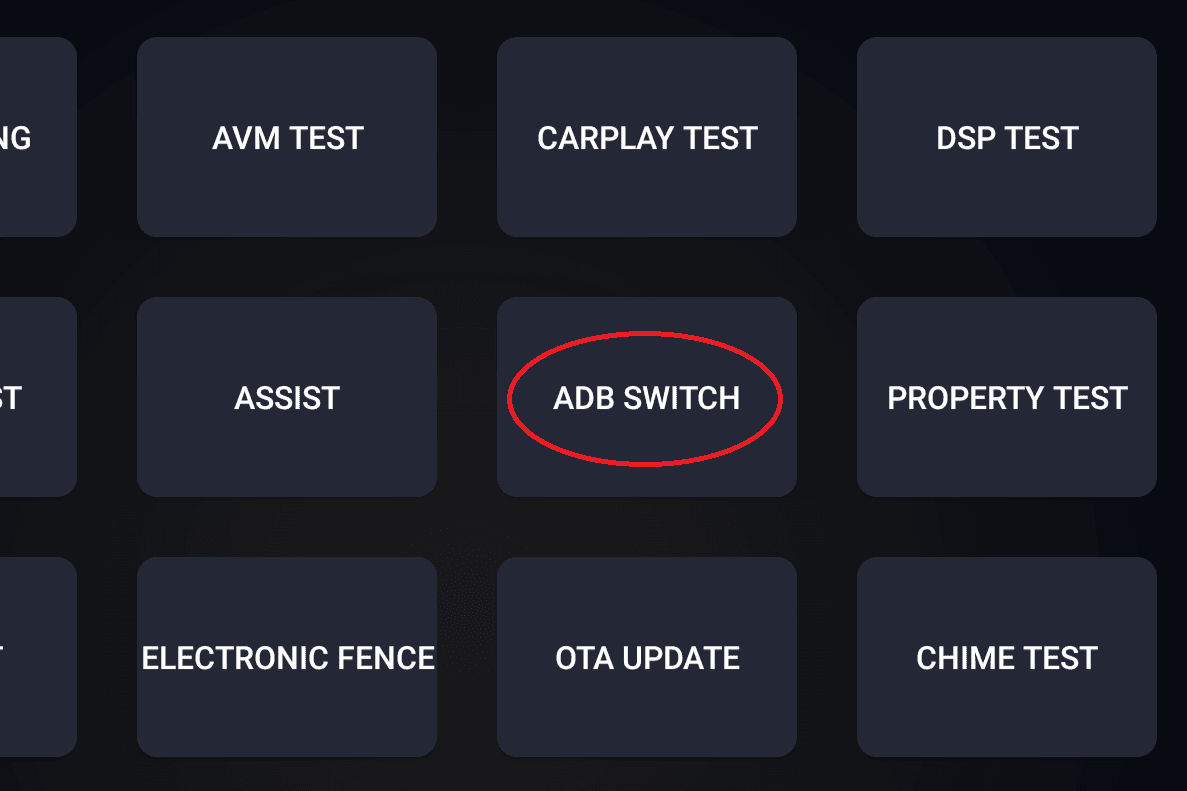
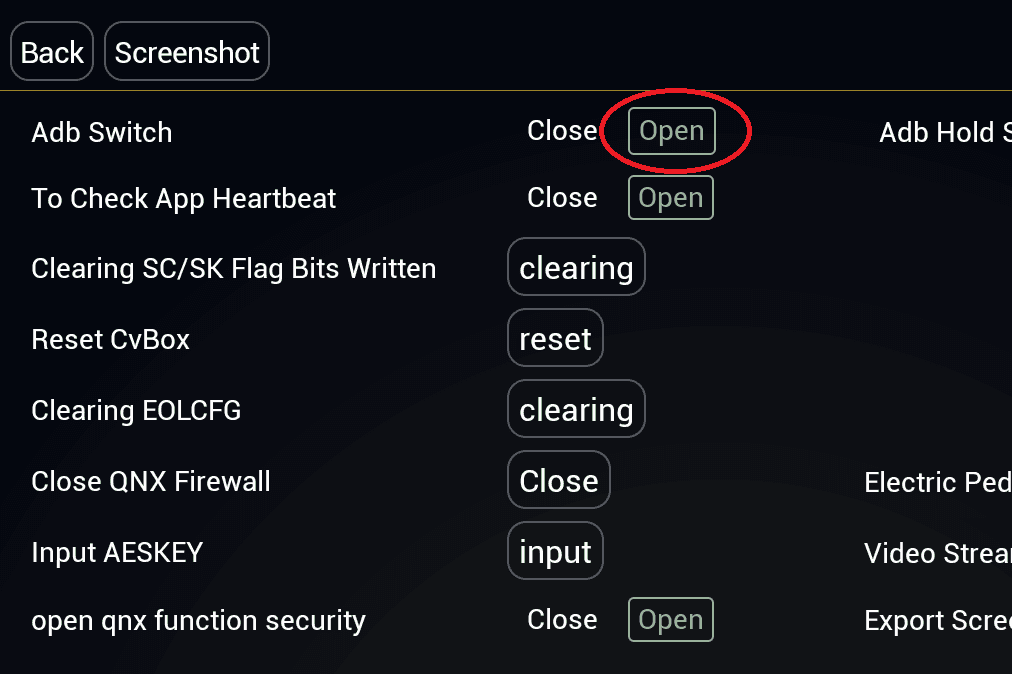
- Tap “ADB SWITCH”.
- On the “Adb Switch” option, tap “Open”.
4. Extra activation
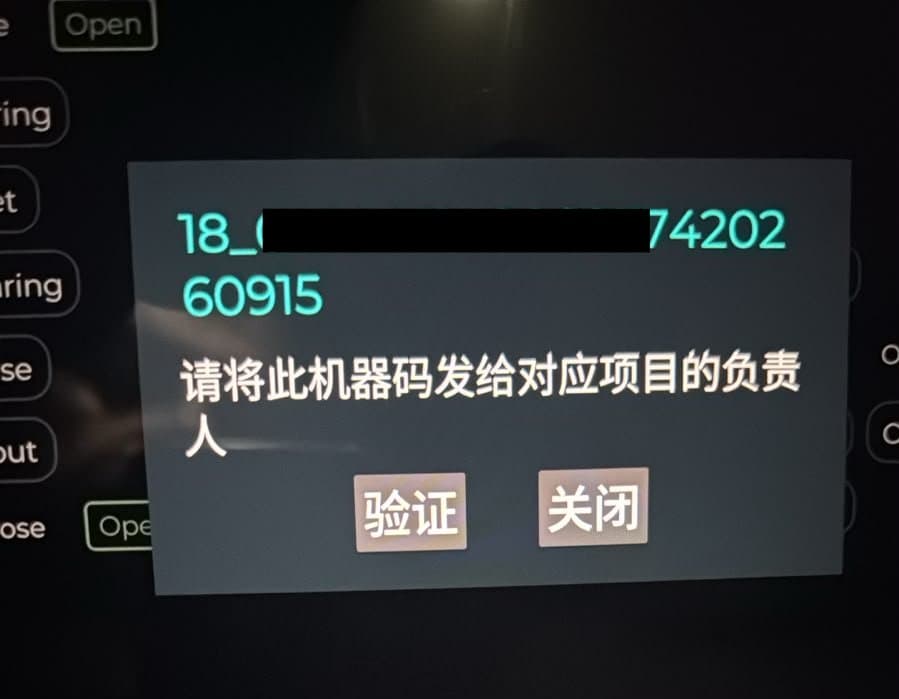
Some vehicles (for example, the 2027 J7 and 2027 Tiggo 8, among others) display a second activation window when ADB access is requested.
- If this window appears for you, contact support to receive the additional activation instructions.
Support: +55 27 99526-9112
Contact support on WhatsAppReady to install
ADB is now enabled. Connect the cable and return to the installer to connect the head unit.
Back to installation